HOW I TAKE AND EDIT MY INSTAGRAM PHOTOS
Instagram is one of my favourite places on the web to create content on— between feed posts, stories, reels, and IGTV, there’s so much fun to be had! Today I’m sharing a behind-the-scenes look at how I take and edit my Instagram photos. Over the last couple of years, I’ve put some special attention into creating a feed that looks inviting, fresh, and (most importantly) has substance. Let’s dive into my process…..


Figure out your subject
Before you take a photo, you have to figure out what your subject is going to be. I love a good random selfie, but I now put more thought into the caption and photo combo— in other words, what’s the story I’m trying to tell with this post?
To do this, I ask myself prompts like: what are things I’m interested in right now? Is there any big life moment that I’ve experienced recently? How have I been spending my time? Where have I been finding joy?
Answering those questions can help generate ideas for things that might be worth talking about/mentioning on my feed. One of my favourite insta moments was taking a photo in front of my laundry on a cleaning day— it was such a random photo, but perfectly documented an adulting moment that everyone could relate to.

2. Equipment
About 80% of the photos I take are on my cellphone *(my current one is the iPhone X). These days, most phones have pretty great photo quality!
The times where I feel most compelled to use my DSLR is when I’m shooting in poor light conditions because a DSLR gives you a bit more control over settings. My DSLR is a *Canon 80D with a *Sigma 18-35mm lens. I use this combo to shoot a lot of my YouTube content, but it’s also a great camera & lens duo for photography.
Tripods are also really helpful when you’re taking photos by yourself. I recently got *this tripod for my cellphone from Amazon and it’s been a nice addition to my “photography toolkit” because it prevents me from balancing my phone on books AND it came with a remote that connects, via Bluetooth, to my phone. So when it comes time to take a photo, I don’t need to be going back and forth to my camera to initiate the self-timer!
*For my DSLR I use this tripod from Vanguard— it’s great if you want to shoot a lot of flat-lays because the tripod can be set at a 90-degree angle!
3. Photography Tips
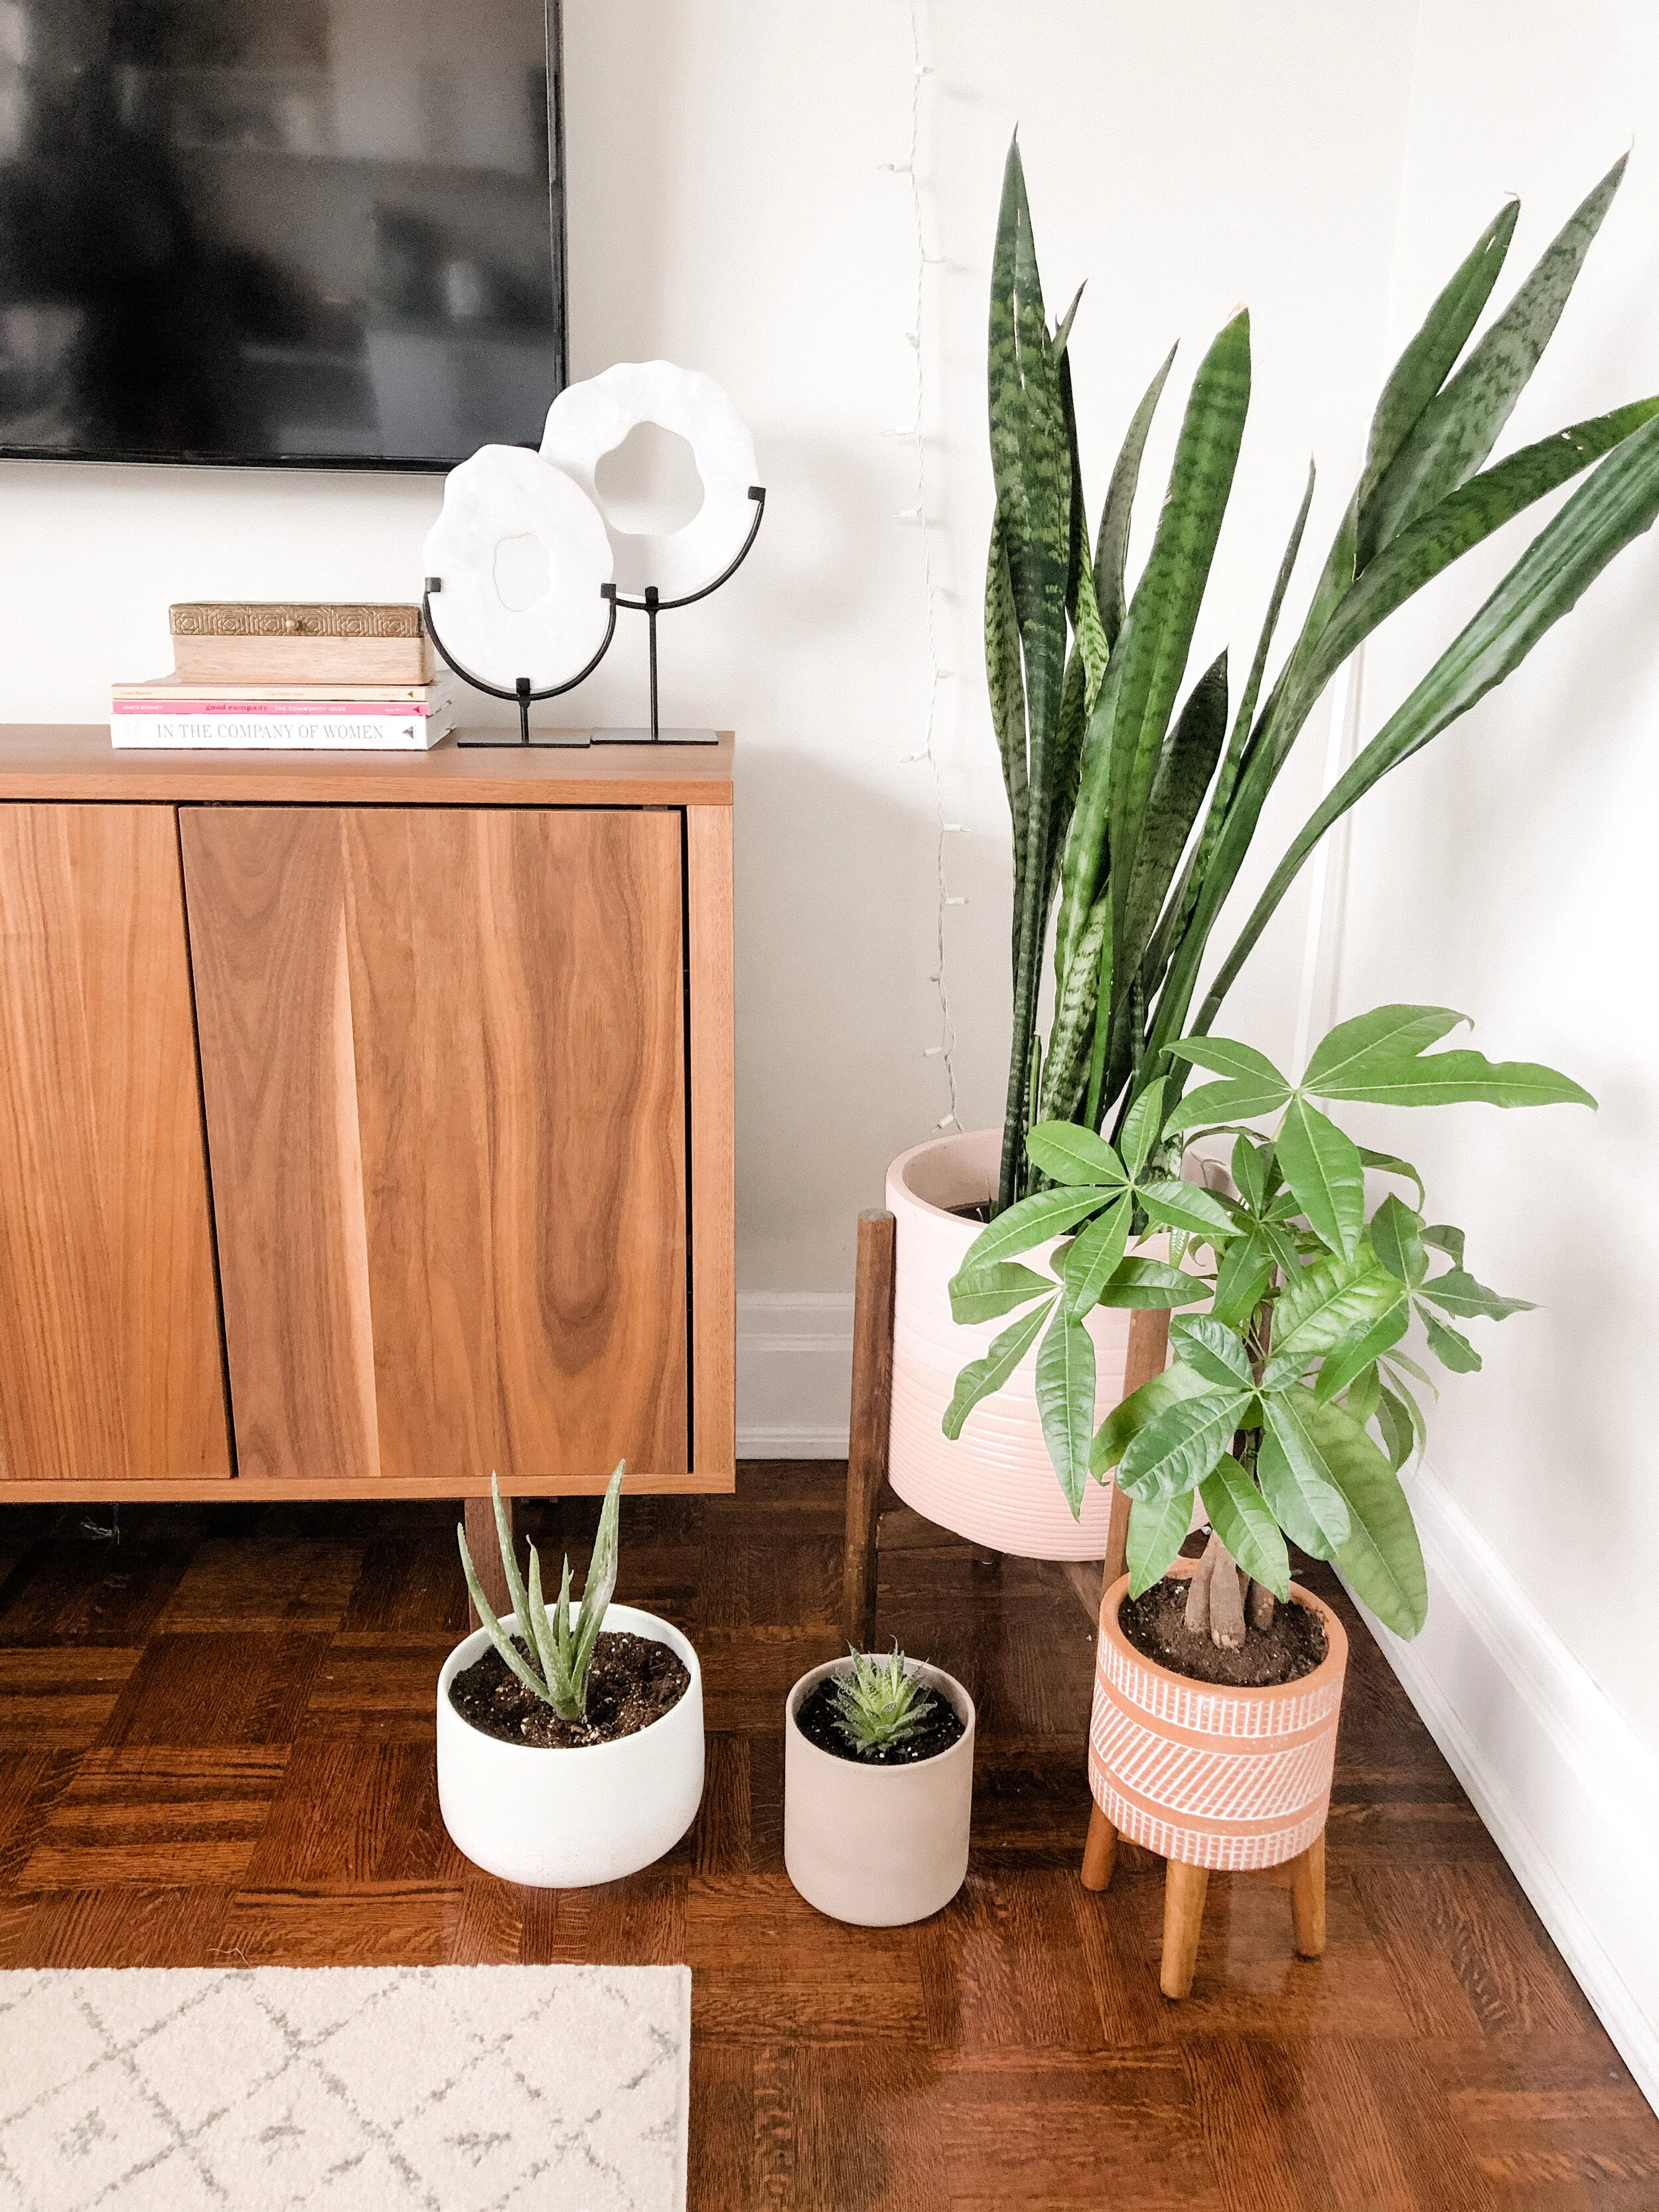
Whether you use a phone or DSLR, one of the best things you can do to get a great photo is have good lighting. I do all of my shooting with natural light—usually, that means I’m taking photos in front of the windows in my apartment so I’m well illuminated.
I also love to use *white foam boards from the dollar store to help bounce light into any areas of my photo that are experiencing some shadowing!
If you’re taking photos of yourself, a helpful tip is to set your camera to burst mode so it takes multiple photos within the span of a few seconds (it’ll increase your chances of getting a photo without awkward blinking/smiles, haha)!


4. Editing
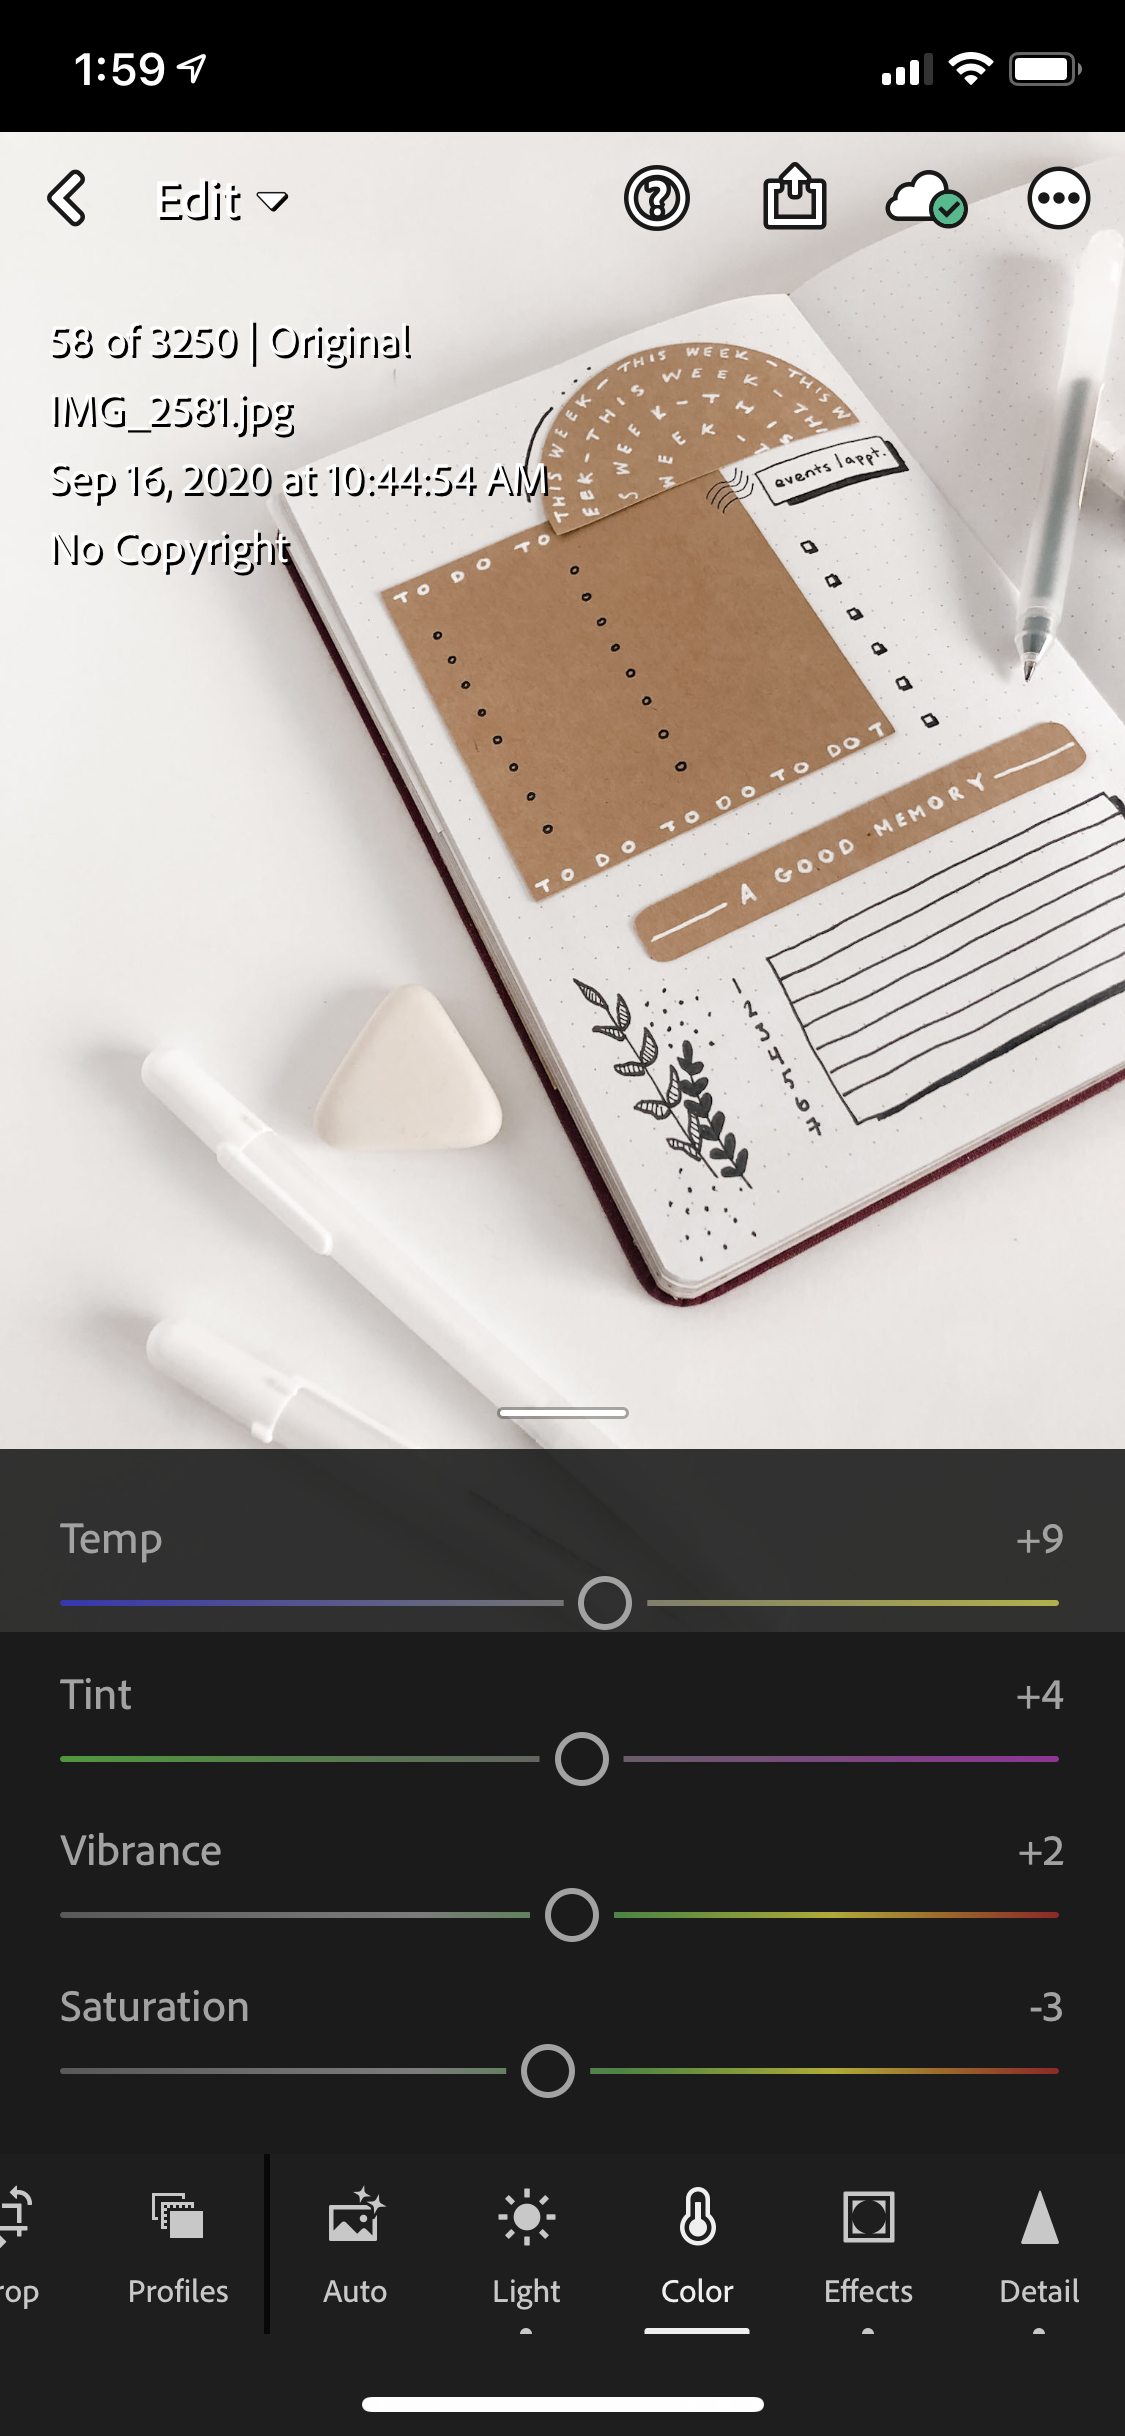
All of my editing these days is done on Lightroom. Lightroom has become my go-to editing app because it gives me so much control over how I edit photos….even the most unattractive photos can usually be saved with this app! One of my favourite features is the ability to change the hue, saturation, and luminance of ONLY specific colours in your photo (i.e. only lowering the saturation of the reds or increasing luminance for only the yellows).


One of the best ways to create a cohesive feed is to use the same/similar filters on all of your photos— on Lightroom, filters are called “presets.” I use a combination of presets I’ve created myself, and ones from other creators like Jenna Kutcher and Meghan Rienks (I use “thirst trap” from her selfie pack ALL THE TIME as a starting point for my editing)! You can find tons of free presets online to get you started!
I prefer bright photos so I always play around with exposure and contrast first. I then lower highlights and raise shadows. After that, I go into the colour adjustments and play around (this looks different for every photo, but I always lower the saturation of my yellows so the whites in my photo get some extra pop). If my skin colour looks off, that’s usually the result of something odd happening with the saturation of the orange colours in my photo.
And that’s really all— I don’t spend too much time on editing these days after discovering presets. Once you invest time in figuring out the setting you like, it’s easy to just copy and paste them to future photos! I’m obsessed with them!
5. Instagram Stories
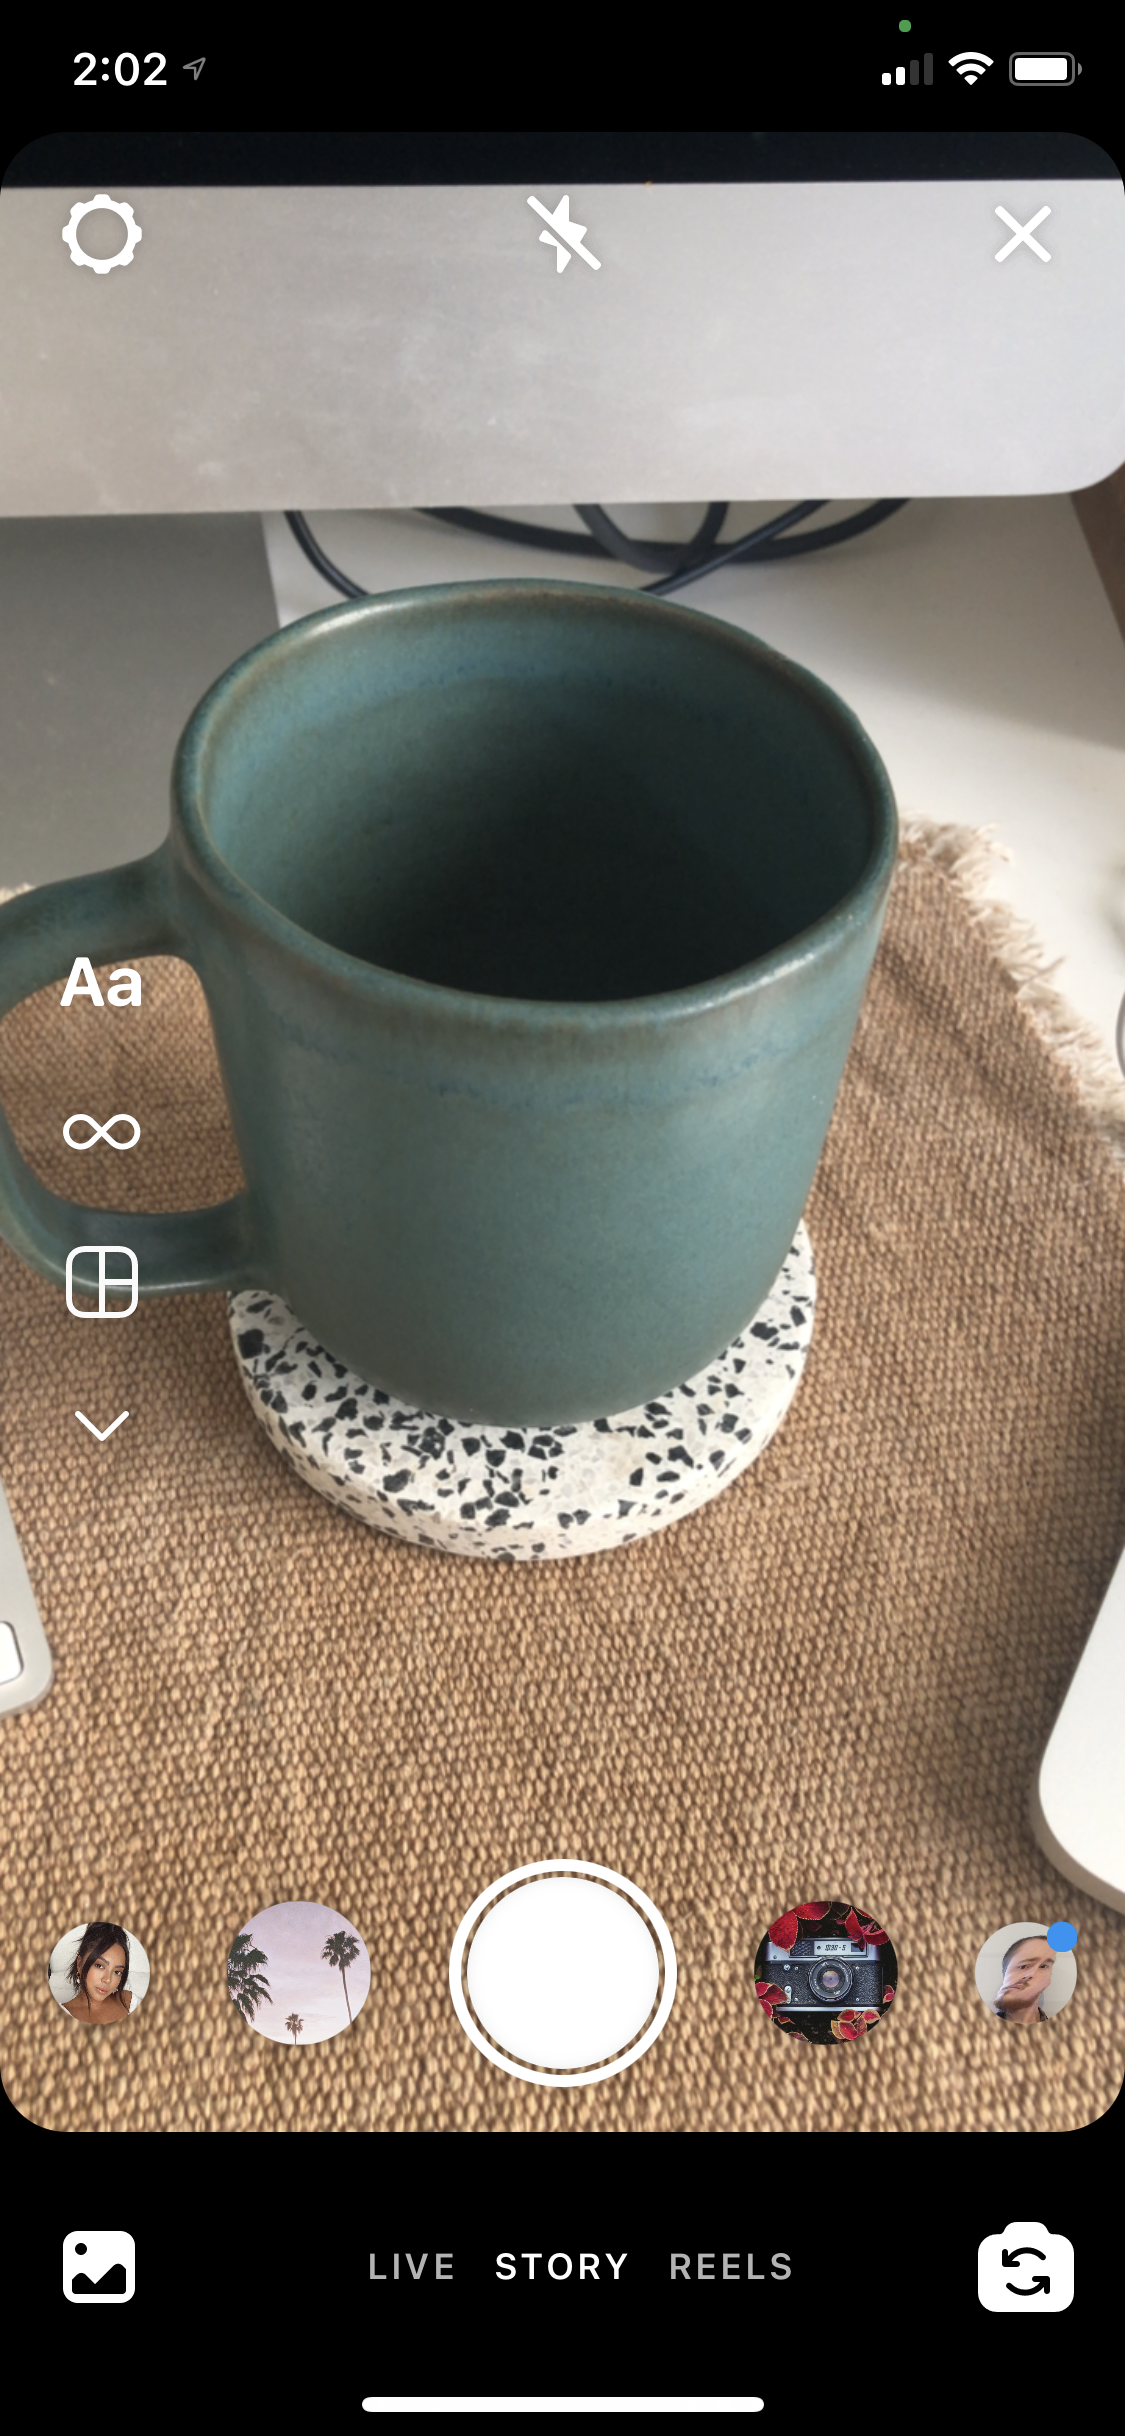
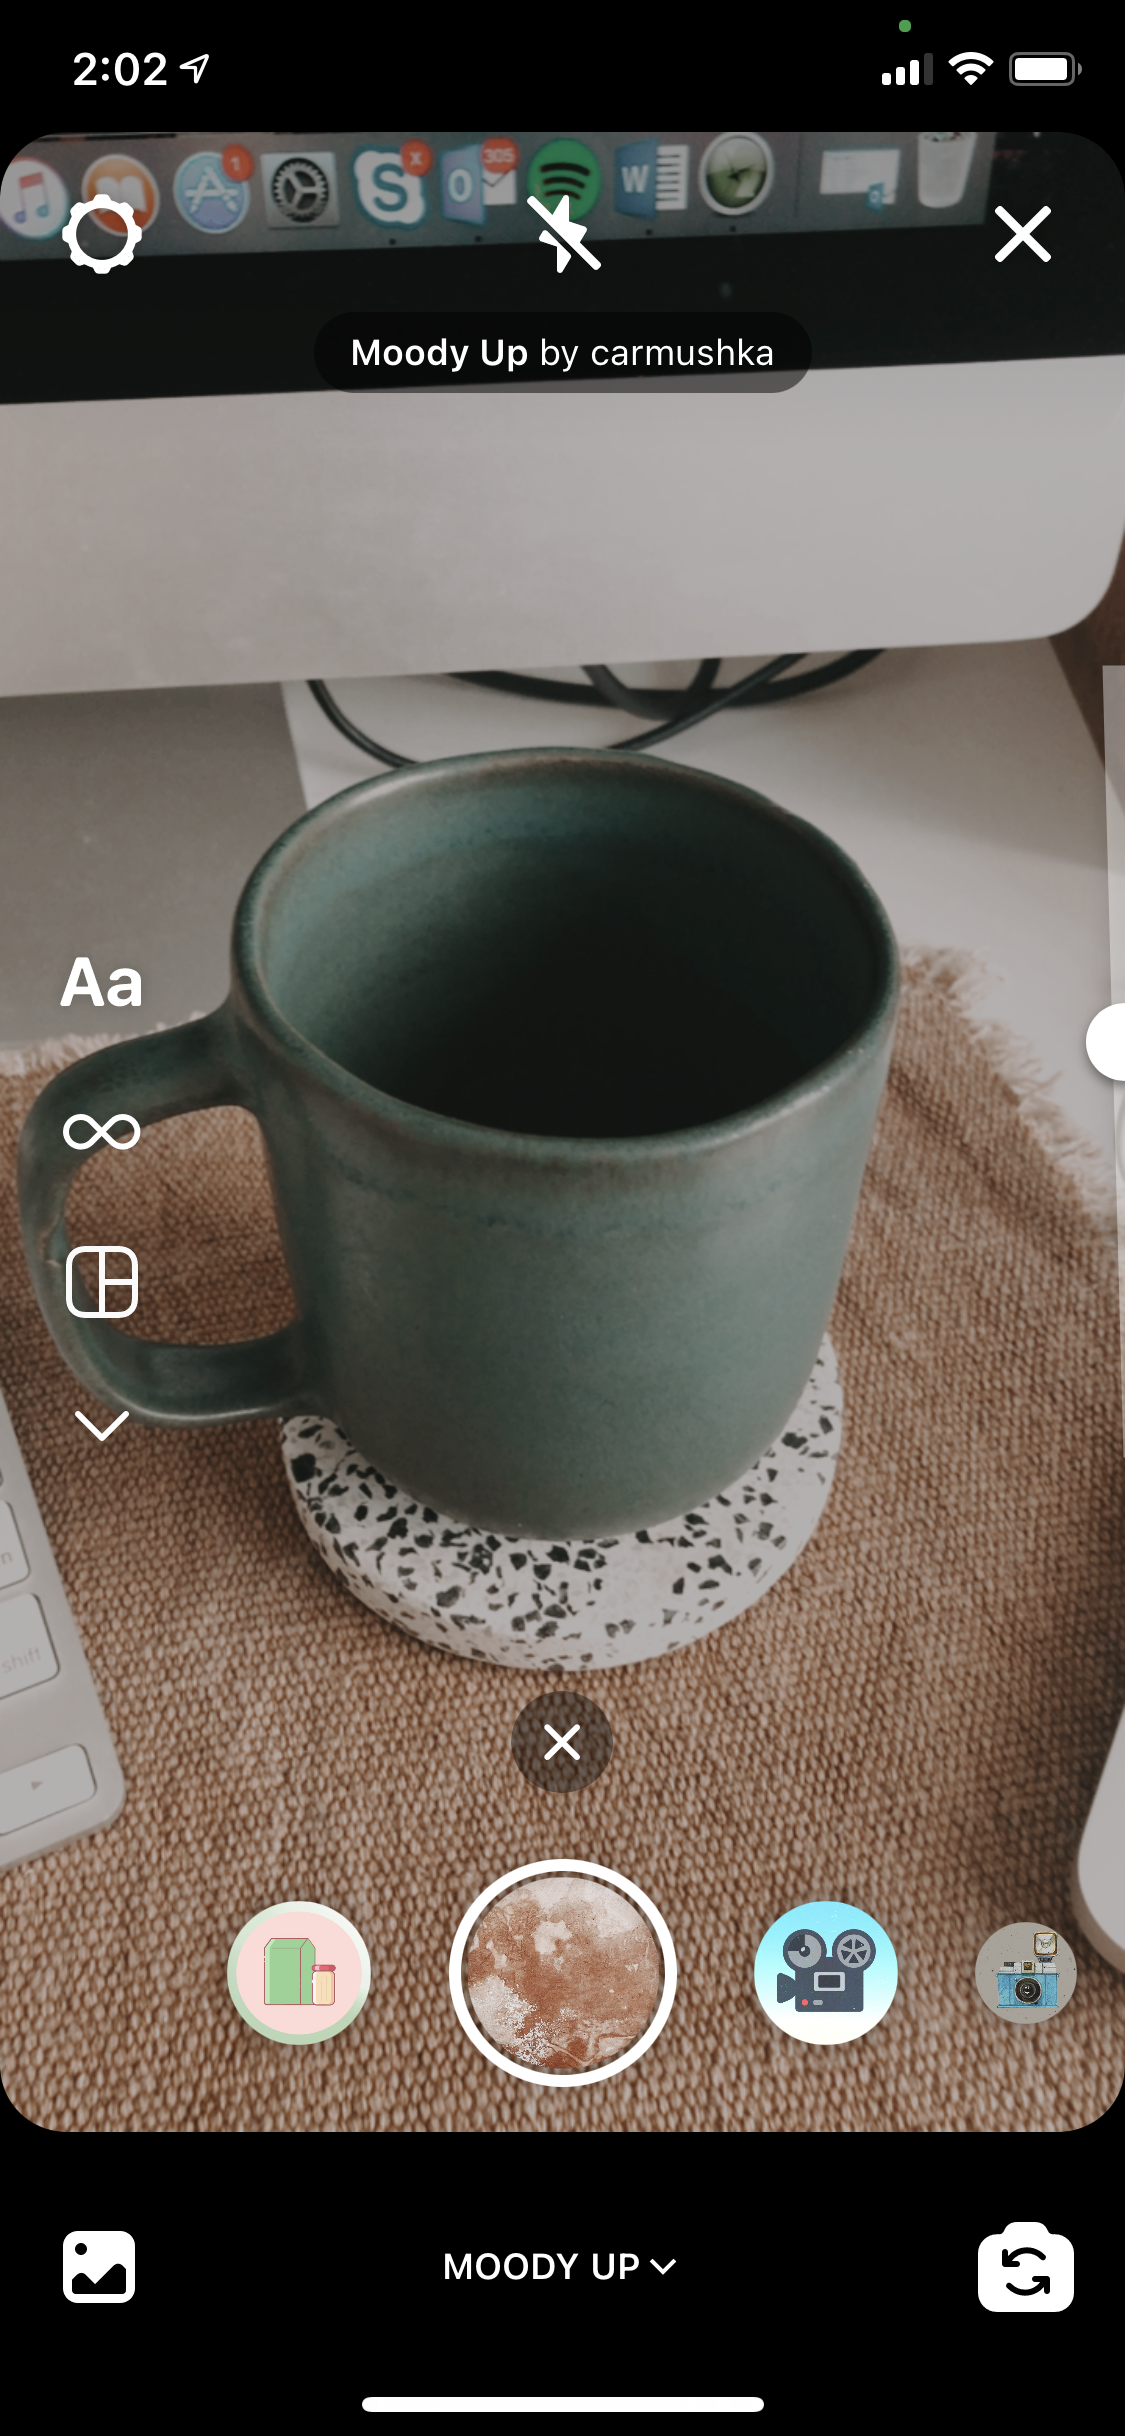
If you want to know what apps I use to create beautiful Instagram stories, you can check out this blog post I wrote a few months ago! But when it comes to shooting Instagram story content, I mostly rely on Instagram’s built-in filters to give my footage a bit of flavour.
Some of my favourite filters can be seen in the following grid:


What are your favourite photo editing apps? Do you have a go-to filter/preset? Let me know in the comments below! Until next time, Xo —C.
*affiliate links